An Art themed birthday party sounds like it could be a lot of work, but it really isn’t if you are prepared. I thought it would be fun today to share an updated version of the arts and crafts birthday party theme ideas that I loved!
Invitations
If you are going to have an Art Themed Birthday Party, why not start out the experience by making invitations? Use stamp sets and card stock to make some cute invites. If you don’t have a stamp set, you could also decorate the invitations with stencils and stickers or color something fun! Make sure you note on the invitation that the children need to bring an old t-shirt or smock to wear, so that they do not ruin clothing with the art projects at the party.
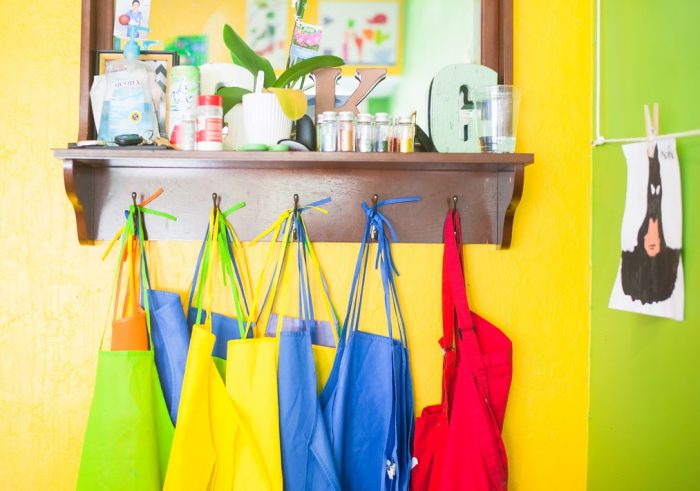
Decorations
Take some of your child’s recent artwork and hang it around the room like a gallery. If you have any easels, set them up like an art studio! Use Art Paper rolls to decorate the table and add paint brushes and paints in the middle so that the kids can color the their seating area. If you have young children or do not wish to use paint, you could also put markers and crayons in the center as well. Then set up stations for your various art projects to keep the chaos under control.
Activities
An Arts and Crafts birthday party needs lots of art themed projects. Depending on ages and comfort level, here are just a few ideas to create fun stations for your party:
- Coloring pages: You can print these for free from Crayola.com
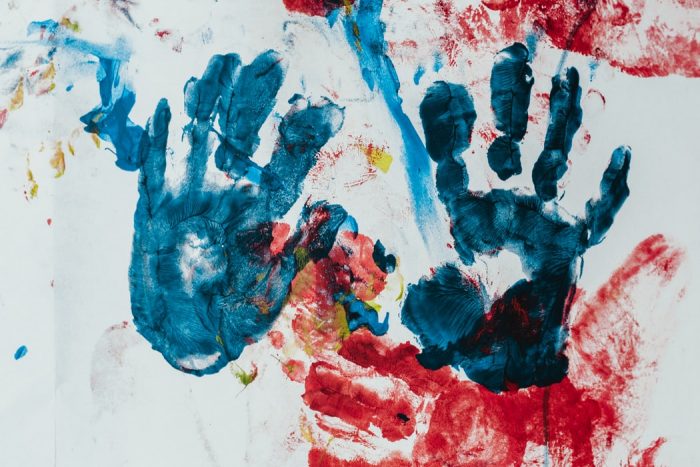
- Painting: You can find Paint By Numbers or all sorts of children’s paint supplies at your local craft store.
- Play Dough Station: Let the kids create using modeling dough by making your own and getting some fun tools. If you want to save yourself some time, you can also purchase Play-Doh and tools online!
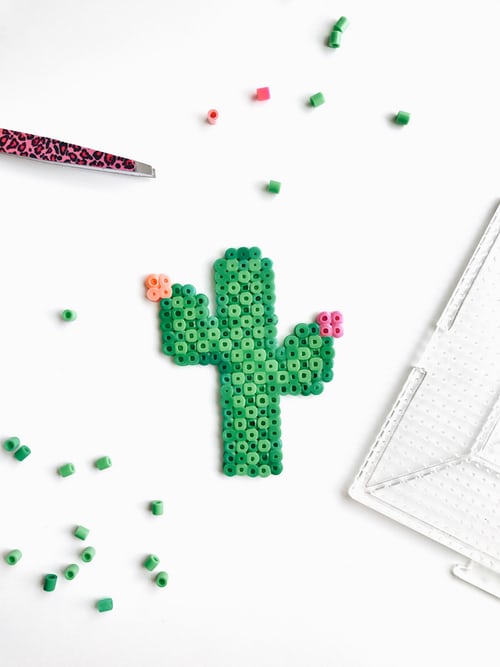
- Beading: This is a fun idea that also doubles as a great party favor. Make jewelry or use Perler Beads to create fun designs!
- Sand Art: If you don’t mind the potential mess, this is an activity kids always enjoy
- Paper Bag Puppets: Using these templates from DLTK, the kids can make fun puppets to take home.
Food
Make sure you set up food in stations to do these foods. Some of these take a bit, but edible art is fun too!

- Decorate your own Cupcakes: For this, you need plain cupcakes and whipped topping (like Cool Whip).
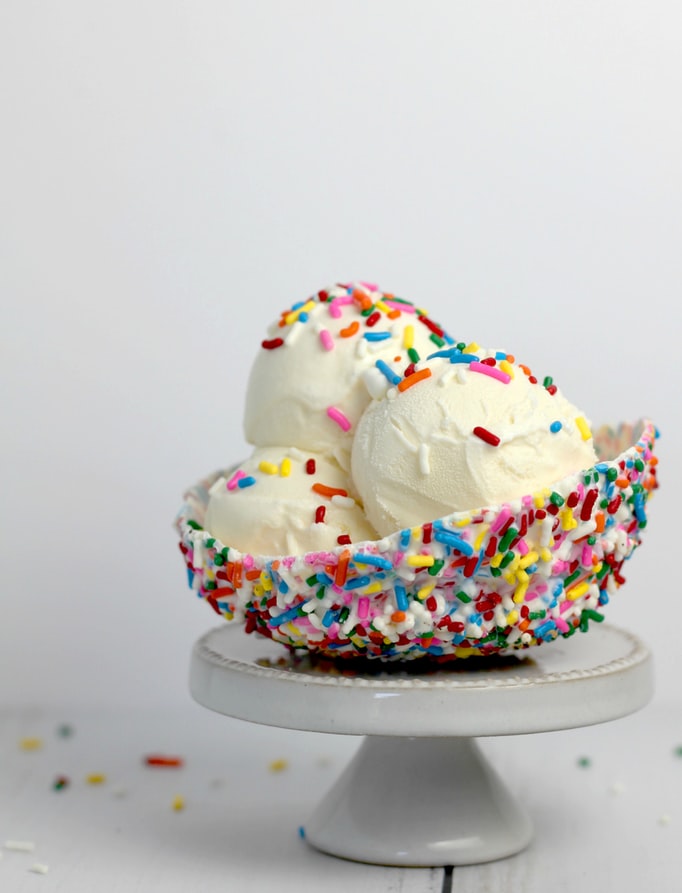
- Make Your Own Sundae Bar: Pick One or two flavors of Ice Cream for the kids to use and colorful bowls if available.
Using small cups (think paint cups) to hold the toppings, include fun things like sprinkles, colored sugar, gummy bears, crushed graham crackers, Skittles, crushed candy bars, and M and M’s.
The kids will have a blast creating and eating their “art!”
Add some chips, pizza, or other goodies, and a drink…and you are all set!
Treat Bags
The best part about a party like this is that the activities double as party favors. However, if you want to send everyone home with treat bags, some things you might want to include are Play-Doh, mini stamp sets, crayons, coloring books, and notepads.
That’s A Wrap!
I hope you found these Arts and Crafts Birthday Party ideas helpful. If you have done a party like this, what else would you suggest? As always…I love hearing from you!
They all look so amazing. So pretty that I wouldn’t want to eat them….hee hee
What great ideas! I really love the sundae bar idea. I’m going to do that next party time.
An arts and crafts party for kids is such a great idea love this post
thanks for the giveaway
A collage project would be a fun craft
Love Walmart, they have most everything I need!
My grandsons would have a great time throwing a party like this! Even the adults could have fun!
This store has it all. Thank you for the chance.
Sundae bars are great ideas! Makes the party more interactive
I always liked doing arts and crafts, it can be really fun.
Love this! Thanks! 🙂 xo
Fun ideas for a party.
Thanks for the contest.
fun kid activities
I love the arts and craft ideas!
The sundae bar is a fun idea for any party.
I really love the idea to let the kids decorate their own cupcakes. It could be messy, but so much fun!
thanks for hosting!
It looks like so much fun! Thank you for sharing.
I really love doing different Arts and Crafts!!
Finger painting is messy but so much fun.
Thanks for the giveaway looking good
Fun post. Thanks for the giveaway.
cute ideas! i love them
I have NEVER been good at planning birthday parties. I’ve just taken the kids to someplace like skating or bowling. I’m a bad Mom, lol. These are great ideas1
Totally good options. I was a professional party planner for years, and I originally wrote this post some years back because it was a party idea I tested. While I know how to do over the top parties, my kids and I just did a simple one last year at the park. No decorations, just a cake and free roaming play time!
edible crafts are the best
Decorate your cupcakes would be a fun thing for a party.
Arts and Crafts are a great way to be creative with the kids and keep them busy!
These snack slook amazing. I always love doing kids things.
A good party needs fun food.
This looks yummy! Thanks for the giveaway!
We love doing craft during the summer months.
I follow you on instagram as @oldblueeyes070
Amazing ideas to get creative!! I think all children would love this idea!!
Making simple bracelets with beads is fun.
Thanks for the chance at this gift card.
We love doing arts and crafts. It gives me quality time with the kids.
I love the sprinkled bowl
Great party planning. I like the Sundae bar!
My daughter loves creating things with Perler Beads!! We have them all over the house!
Thanks for the chance. I love stopping off at the Walmart Neighborhood Market to pick up scripts and last minute groceries.
I have never hosted an arts & crafts themed party but it sounds fun. For my older kids I think they would like D.I.Y. jewelry, friendship bracelets, or hair ties as well.
I really enjoy your blog….Thanks for all the great info!
I like the coloring and making puppets for activities.
All of my granddaughters would love to have a birthday party like this.
Making jewelry is also fun for the adults!
I love arts and crafts. These look like so much fun for kids and adults.
These are great ideas! Thanks for sharing.