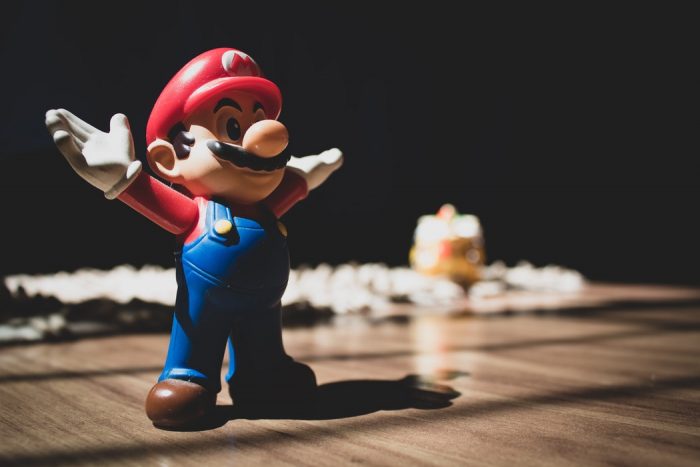
Super Mario remains one of the most iconic characters loved by people of all ages. Planning a Super Mario Party for my kids was so much fun. It was also the most labor-intensive party I have ever done. Sadly, I spent so much time trying to make it all perfect that I didn’t take enough pictures. I don’t want this to happen to you. Therefore, I am going to tell you how to plan a great Super Mario Party that won’t leave you exhausted!
(Note: this is a revision from my Mario Party first posted in 2019)
Super Mario Party Invitations (printable)
Nowadays, pre-made invitations are easier to come by, but if you want something cute and easy, here is what I used when I printed out invitations for my kids’ friends. Click below to print your own!

The Super Mario Party Set Up
After I sent the invitations, I came up with a way to turn this party into a live-action version. Due to my level of Geek, I had way too much fun planning the Super Mario Party games!
I set up levels for the house and yard to mimic the levels of the game. I gathered the kids in our carport. I had an activity “planned” for the kids to start. However, before the kids could start the activity, my husband appeared dressed as a “Boo” ghost. Then, he whisked all our activity supplies away! For the kids to be able to do the activity, they now had to play a live-action version of Super Mario with the setup I created in my yard and house.
Intro and First Level
I wanted the carport to look like Princess Peach’s Castle, but I couldn’t find any castle scenery. Instead, I took a page from Super Mario Sunshine. I turned the carport into a vacation spot from the beginning of that game. It looked very beach-like.
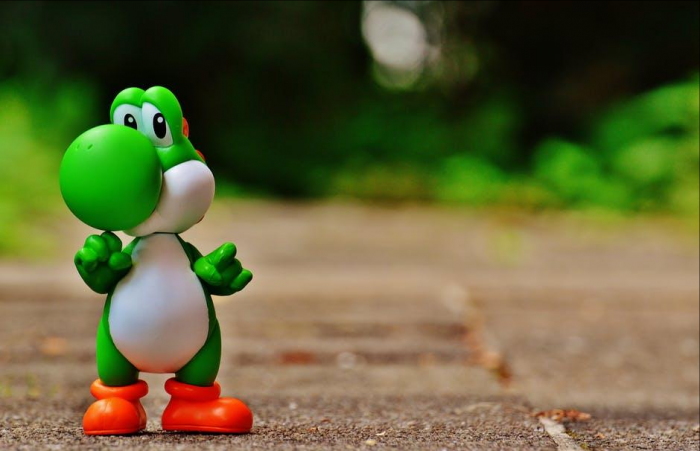
As for the backyard, I turned that into Yoshi’s Island, complete with a Welcome Poster of Yoshi and Flying Fish cutouts. We started at Yoshi’s Island and played Musical Islands. It is musical chairs. Instead of chairs, I made cardboard cutouts of islands.
We had a rather large group, so we played two rounds. At the end of each round, the winner was given a gold star. Some of the Super Mario games involve collecting stars, so the kids were excited about it. Next, we entered the house towards the basement for Boo’s Mansion.
Other Levels
For Boo’s Mansion, I cut out pictures of Boos. Then I made posters that said things like, “Turn Back Now” and “Do Not Enter, especially Mario.” The key was to make the signs look as if they were supposed to be scary. However, I misspelled some of the words to make it more Boo-like.
Once down there, we played a variation of Red Light Green Light. I held a Boo ghost I printed. When I turned around, they could move freely, but once I turned back, they had to freeze. Whoever moved was out. The last person received a star.
After that game, we went through my kitchen/dining room. I had it decorated in cutouts of the question mark blocks, goombas, koopa troopas, power-up mushrooms, fire flowers, and tunnels (aka a sewer passage). The last one through got a star. Once through the tunnels and sewers, they reached the living room, which I turned into the Shy Guys’ Toy Box.
The Shy Guys’ Toy Box was decorated with Shy Guy Cutouts. I used my son’s old Geotrax train system to run throughout the living room. For that level, we played Hot Potato. To play this game, I used a black balloon (Chomp-Chomp) as the potato.
Final Battle
After the game, I gave out another star, and we headed upstairs, where I had the third floor decorated as Bowser’s Castle. On the way up to the second and third floors, cutouts of Chomp Chomps and Bob-ombs decorated the walls. Once they got to Bowser’s Castle, they discovered Chomp Chomps (black balloons) all over the floor.
The first thing they had to do was to pop all the Chomp-Chomps. We had over two dozen on the floor! Then they had to defeat the boss.
For that game, we played a version of Pin the Tail on the Donkey: Put the Fireball on Bowser’s mouth.
After they “defeated” Bowser, they got the supplies for our craft activity, had their cake, and played with friends.
Food

For refreshments, we had Koopa Tea (fruit punch) and fresh veggies and fruits. A friend made us a super cute Super Mario cake!
As for the decorating, I looked up Super Mario Images on Google and printed them, cut them out, and posted them everywhere. I purchased beach-themed decorations at a local party store and used tableware in bold, primary colors.
Author’s Note: I originally wrote this Super Mario Party tutorial when the Big Kids were turning 4 and 8 back in 2011. I went back through and did some editing, as this is still one of the kids’ favorite parties. I hope you enjoyed my walk-through. If you do this party, please feel free to share what you loved and how it went!
Great ideas. I like that cake. My daughter would love a Mario party.