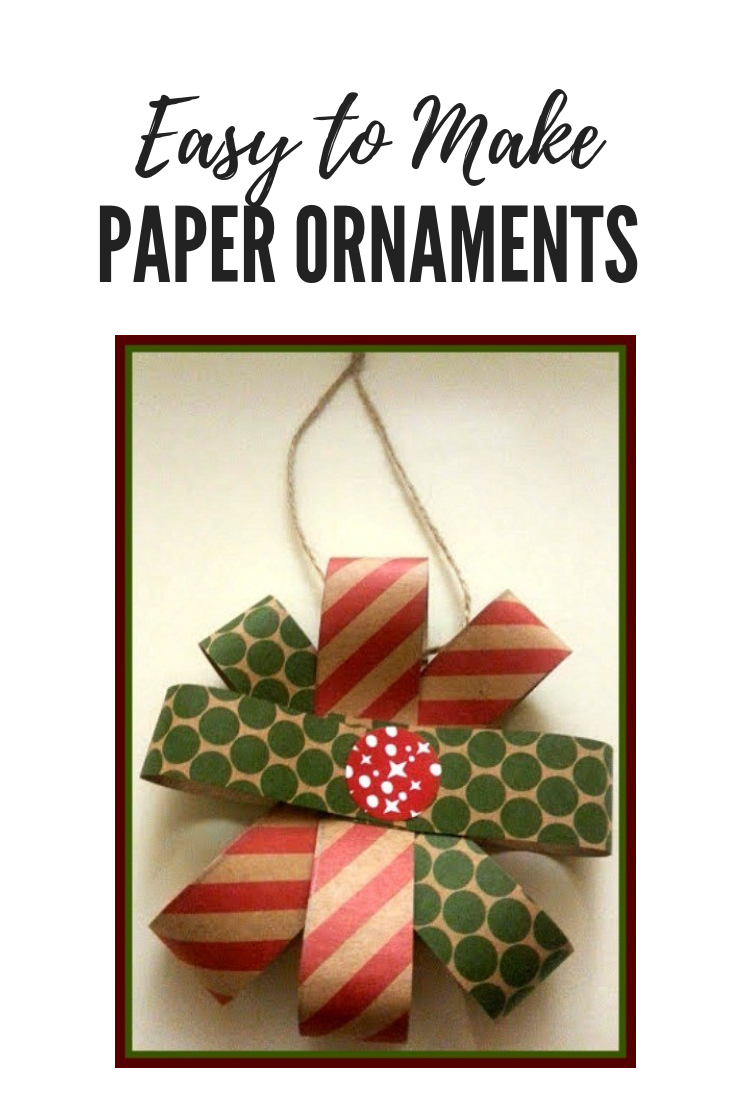
One of my favorite things to do during the holidays is to make crafts with the kids. The other is to eat my weight in Christmas Cookies. We make these Paper Christmas Ornaments every year and use them to decorate the tree, hang on doors, and even use in banners and decorations to hang from the ceiling. They are easy to make and require only a few supplies.
Paper Christmas Ornaments
For this project, you will need:
- cardstock (I used a holiday pack from my local craft store)
- scissors
- stapler or tape
- twine or ribbon
- stickers, buttons, or some sort of embellishment
- ruler
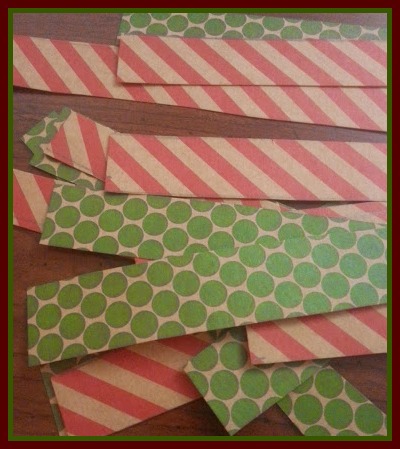
First, you want to take a ruler and make one inch lines on the back of the paper and then cut the paper into one inch strips.

Then you want to take two strips, make a cross and then use tape or a stapler to put them together.
 Take two more strips and place them over top the first two like shown below and then staple or tape.
Then take your sticker, button, or other embellishment and place in the middle to hide the staple.
When done, cut a piece of twine or ribbon to hang your ornament.
That is all there is to it! I do suggest using bigger stickers or buttons than what I used to have a more polished effect. I must confess that I went with the sticker choices my kids wanted, so they are a little small. You could also use paper flowers or other embellishments as well. Just have fun with it!
I hope you found this Paper Christmas Ornaments tutorial simple, and please feel free to share how you personalized yours! Don’t forget to subscribe for more crafting, homeschool, and parenting fun! Also, you can follow me on Instagram for more stories and ideas @bearhavenmama!


cute! I need more projects with the kids this week with the weather!!!
Oh I love those! Nice and easy…and perfect, considering the kids have WAY more days before Christmas this year than I realized!
These look festive and easy to do!
I love how simple and cute these are.
How easy yet cute!
This looks so nice but also easy to make!
This is so cute and so easy to make!